Zwift racers have a bit of a love-hate relationship with powerups. Some wish powerups would go away entirely, while others think they add a fun bit of strategy and randomness to racing.
I fall squarely into the second camp. I think if powerups are set up properly by organizers they help animate the race, add a layer of strategy, and reward riders who have a bit of course knowledge over those who don’t.
Triggering powerups can be a bit of a pain, though. While Zwift provides a variety of methods to activate a powerup, none of those is convenient when you’re sprinting for your life. Who wants to reach for a keyboard, try to tap their phone screen, or (worst of all) click their AppleTV remote when they’re on the rivet?
I’ve messed with Bluetooth controllers as powerup triggers in the past, but found them unreliable. (My theory is they go to sleep after X minutes of no use, then it takes multiple clicks to wake them up.) I’m not interested in faffing about with multiple clicks, or having to re-pair the controller via Windows’ wonky Bluetooth support, or worrying if the controller’s battery will die right when I need it most.
So I devised a hardwired, reliable, single-button powerup trigger for my Windows PC setup. It’s easy to set up and works consistently and instantly while staying perfectly within reach as I hammer out the watts in a sprint or hard climb. Here’s how it works…
Hardware Required
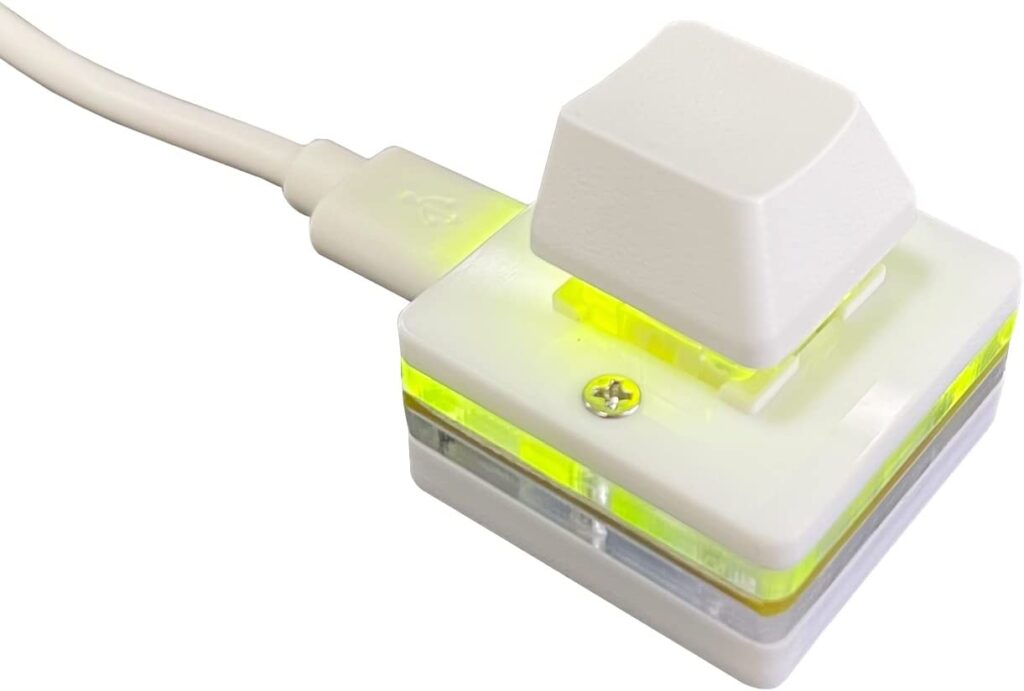
You’ll need a one-button programmable keyboard. I bought this one on Amazon for $17.99. There are lots of options for these types of keyboards, including a more stylish black one or the big red button. (Zwift themselves use a big silver button version for their roadshow bike setups.)
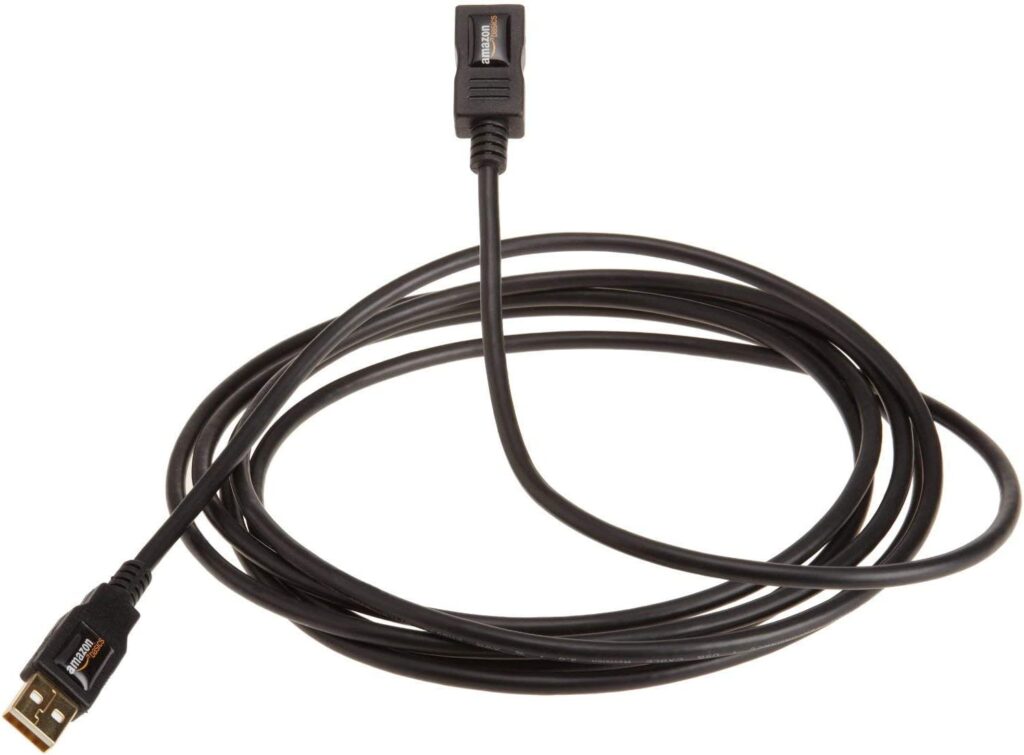
You’ll probably need a USB extension cable as well since the cord on the keyboard isn’t very long. Amazon Basics to the rescue!
Setting It Up
The configuration software for the particular keyboard I purchased is pretty basic – it looks like a programming project from a freshman Computer Science major. That said, it’s a standalone program that runs quickly (no installation needed), and it worked just fine!
Important note for Mac users: the configuration software for this particular keyboard only runs on Windows, so if you want your keyboard to work on your Mac, you’ll need access to a Windows PC to do the configuring first.
Step 1: Plug your new 1-key keyboard into your PC.
Step 2: Download the configuration software at https://key.itytsoft.com/, extract the files to your PC, then run “run-me.exe”.
Step 3: Click “SearchDevice” and the keypad should pop up. Then click “Configure”:

Step 4: Click the image of your keyboard on the left (above the “Save to keyboard” button)
Step 5: Click the button next to “Keys” to bring up a keyboard, then click on the spacebar of the keyboard to set that as the button for your 1-key keyboard. Click “OK”, then “OK” again.

Step 6: Click “Save to keyboard”. You’re all done!

Step 7 (optional): change the LED Mode to whatever you’d like. I like “Colorful gradient”, which slowly cycles between various colors.
Now whenever your 1-key keyboard is plugged into your computer, hitting the key will be just like hitting the spacebar on your main keyboard. You can even test it out yourself – open up a document and start typing. Click your keyboard and see a space typed!
The keyboard also has a really solid click action, which is quite satisfying. So satisfying, in fact, that I made an Instagram reel the day it arrived:
Mounting to Your Bike
Now we have to install the keyboard on your bike. A few things to consider:
- You want it within easy reach when you’re sprinting or climbing hard
- You don’t want it to obstruct your typical hand positions
- If you drip sweat onto your bars or stem, you may want to take that into consideration when selecting a location
- You may want it to be easily removed if your Zwift bike doubles as your outdoor bike
- You may want it to be easily moveable until you settle on the best location
It could easily be mounted on your stem with a rubberband or bit of double-sided tape. But I decided to place mine within closer reach, right where a sprint shifter would be located, under my right thumb:
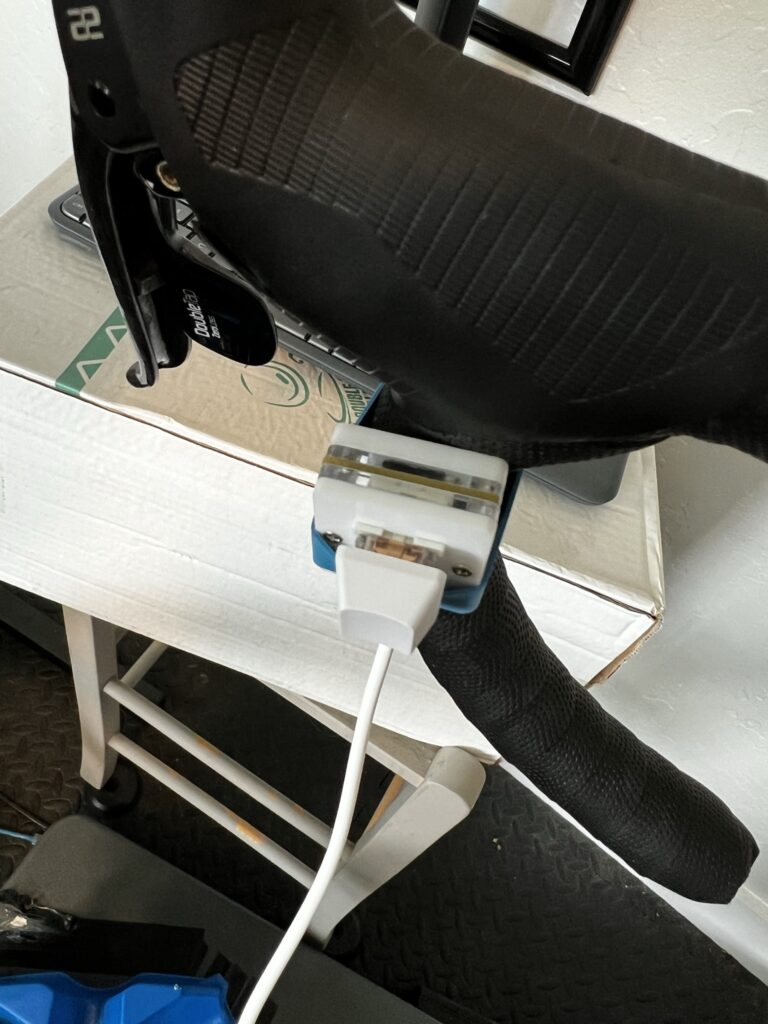
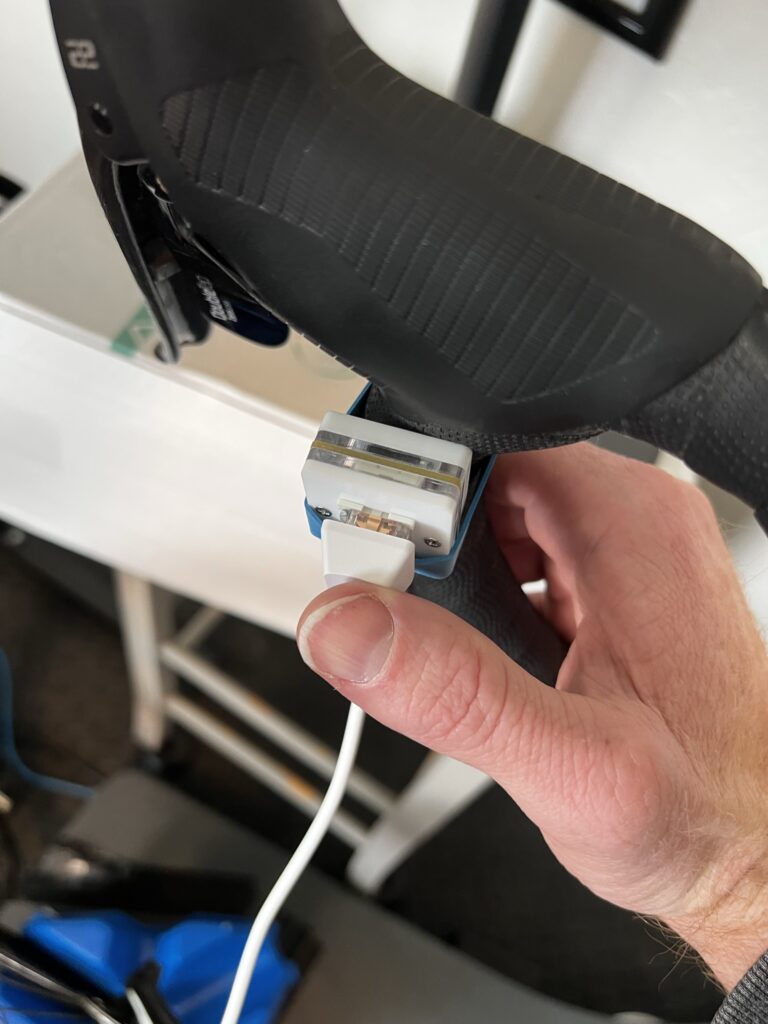
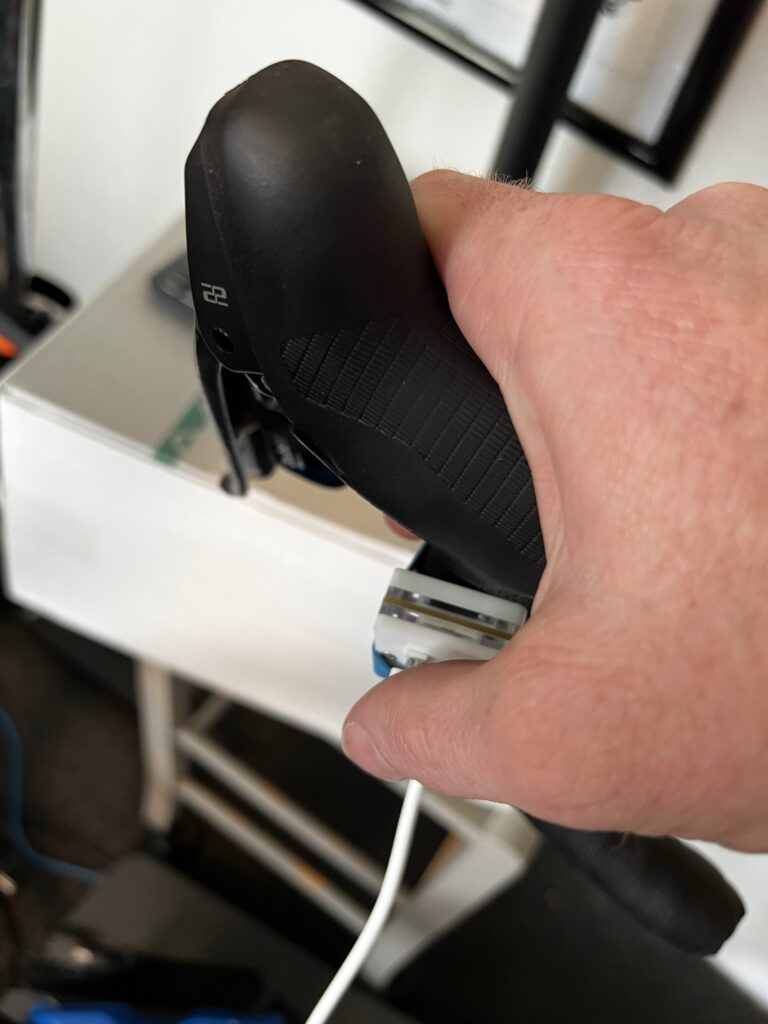
For now it’s attached via a heavy-duty rubberband, which seems to do the trick quite nicely while leaving me with a flexible setup.
Wrapping It Up
I’m really enjoying my new powerup trigger. No more releasing the handlebars to reach for the spacebar on the keyboard sitting on the desk in front of me, or trying to tap the powerup button in the Companion app.
Just a quick, mechanical click using my right thumb. It’s worked instantaneously and flawlessly every time!
Questions or Comments?
Post below!
